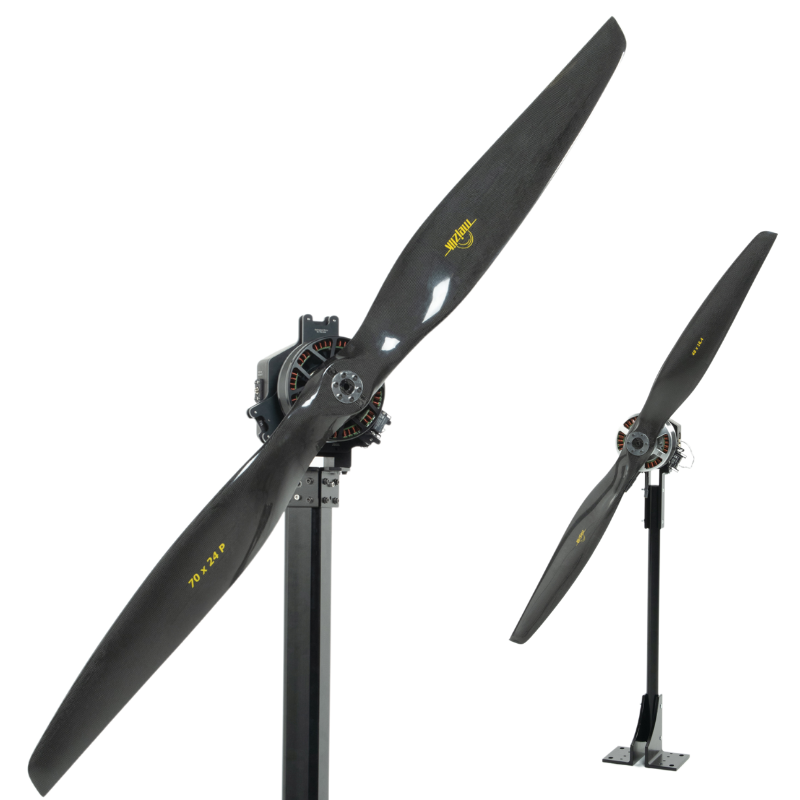
Modern UAVs, eVTOLs, and aerospace platforms demand increasingly accurate performance data to ensure safety, efficiency, and reliability. Dynamic testing in a controlled wind tunnel environment allows engineers to thoroughly characterize propellers in conditions that match real life scenarios.
With control of the WindShaper now integrated into the Flight Stand software, propeller testing becomes easy, rigorous and repeatable. Users can apply controlled airspeeds, synchronize motor inputs with inflow profiles, and capture complete performance envelopes, all without leaving the lab.
This guide walks you through how to connect, configure, and control your WindShaper using the Flight Stand software.
Table of Contents:
-
Connect the WindShaper
-
Map the Controls
-
Configure WindShaper Settings
-
Manual Testing
-
Automated Testing
-
Stopping a Test
-
Troubleshooting
- Why Dynamic Testing Matters
Step 1: Connect the WindShaper
-
Plug in the Ethernet cable to your computer.
-
Power on the WindShaper with the power switch.
-
In the Flight Stand software, open the Hardware tab. The WindShaper should appear in the device list.
-
Note: If you encounter an error message, disconnect and reconnect the device in the software to refresh the connection.
-
Under Built-in Systems, you’ll see key metrics like fan throttle, RPM, firmware version, and system identification (e.g., 2×2 wind wall), which confirm the hardware configuration.

Figure 1: Connect the WindShaper wind tunnel in the Flight Stand software
Step 2: Map the Controls
To enable synchronized testing, map both the thrust stand and the WindShaper:
-
Under Powertrain Mappings, assign the ESC throttle (e.g., Tyto 1585).
-
Under Extra Mappings, add the WindShaper Fan Throttle.
This ensures both propeller and airflow controls are available in the Manual Control tab.

Step 3: Configure WindShaper Settings
In the Manual Control tab, click on the gear icon next to the throttle slider to configure control of the WindShaper:
-
Open loop: full 0–100% throttle range.
-
Closed loop: regulated 0–95% throttle range, ensures steadier RPM and consistent airspeeds.
-
Throttle range limit: protect your power supply and circuits by capping output (e.g., 30% on a 120V/15A line).

Step 4: Manual Testing
To start manual propeller testing, in the Manual Control tab:
-
Activate the WindShaper by checking the box next to its throttle slider.
-
Drag the throttle slider to the desired value or enter it in the command box.
-
Activate the thrust stand by checking the box next to its throttle slider.
-
Drag the throttle slider to the desired PWM value or enter it in the command box.
-
View live data such as propeller thrust, torque, and RPM alongside wind tunnel fan speed and throttle in the live data plots.

Step 5: Automated Testing
For repeatable wind tunnel testing, use the Automatic Control tab to plot your test:
-
In the Automatic Control Tab, select a type of test: Step, Ramp, or Python API (for advanced control).
-
For Step or Ramp tests, you can enter throttle steps manually in the table, or upload a CSV file with the desired steps.
-
Enter throttle steps in separate columns for the thrust stand and WindShaper.
The Flight Stand software plots and exports all results, enabling detailed efficiency curves, performance envelopes, and parametric comparisons across propeller designs.

Step 6: Stopping a Test
-
Stopping a manual test:To stop a manual test, simply clip the ‘x’ next to the throttle slider to return to 0% throttle. Uncheck the box next to the throttle slider to deactivate control.
-
Stopping an automated test: An automated test will stop automatically once the sequence is completed. If you wish to stop the test sooner, use the Emergency Cutoff (below).
-
Emergency Cutoff: A dedicated red button instantly disablesall outputs. This is critical for protecting both equipment and operators during high-power tests.

Troubleshooting
Here are common issues or error messages you may encounter, with troubleshooting steps and solutions:
-
WindShaper not detected: Test connectivity by navigating to the WindControl GUI in your internet browser, IP: (192.168.88.40). If the WindControl GUI opens successfully, the Flight Stand software should be able to detect the machine. If you are unable to connect to the WindControl GUI, check your Ethernet setup and network settings.
-
Control token in use: If a browser running the WindControl GUI is holding the WindShaper control token, the Flight Stand software will not be able to connect to the machine. Release the token from the WindControl GUI in your browser, restart the Flight Stand software, and attempt to reconnect.
-
Firewall restrictions: If the error “Server link could not be started” appears, whitelist the Flight Stand software in Windows Firewall for both public and private networks.
-
Oscillating fan speed: At low throttle, fan RPM may fluctuate. Increase throttle or use closed-loop mode for improved stability.
Why Dynamic Propeller Testing Matters
Dynamic wind tunnel testing is essential for translating static propeller data into realistic flight insights. By combining thrust stand measurements with controlled airflow, you can:
-
Map propeller efficiency across a range of airspeeds
-
Study airflow effects on system thrust and torque
-
Investigate stall behavior at high angles of attack
-
Benchmark different propeller designs under safe and repeatable conditions
With the integrated WindShaper and Flight Stand, propeller testing evolves to full dynamic performance mapping, giving you the data needed to optimize your propulsion system.
Conclusion
By integrating a WindShaper with the Flight Stand software, you can precisely control airflow, synchronize it with thrust stand outputs, and capture detailed test data. With both manual and automated modes available, you’ll have everything you need for reliable, dynamic propulsion testing.
For more information on propeller testing, check out these articles:
-
Propeller Efficiency Testing at Airspeeds from 0-38 mph
-
How Ice Accretion Affects Propeller Performance
-
How to Improve UAV Performance with a WindShaper


 Back to Blog


Leave a comment